Thursday, April 28, 2016

The Chicago Way - The Rules, Box 1.5

I got to read through the rule book for The Chicago Way while I sat for hours waiting for my car to get fixed this morning. The whole time Ennio Morricone's incredible score from 'The Untouchables' in my mind. I can't tell you how many times I've re-watched that movie since this game was announced!


The Chicago Way is almost identical to Dead Man's Hand (both games are written by the same guys, Stuart McCorquodale and Mark Wheatley, and distrubuted by Great Escape Games) which isn't a bad thing at all. I absolutely love DMH, and it's a game I usually will throw on the table when someone new to miniatures games comes over to the house because it's fast, easy to learn, and most importantly fun! I can tell that TCW is going to be same.


If you've played DMH you'll be up and running within minutes, as the turn sequence, action choices, modifiers, cards, etc. are almost the same. What I'll attempt to do is quickly is list the similarities to DMH and then go through the new rules and any differences from DMH.

DMH/TCW same mechanics =

Initiative cards and activation
Action choices
Duck backs/Quick shots
Nerve tests
Under fire markers
Hand to hand combat

Now, the differences. The first thing, and really something that I think you could bring into DMH as well, is the rules for civilians. Each player will throw initiative cards to see who will control a civilian - highest card wins. Civilians will always take two move actions and can only have two hits before dying. Not sure if there is a min/max or ideal number for civilians though, that isn't clear in the book. The Jack of Diamonds card when played by the Police adds a civilian to the table as low level police officer to your gang. The '3' in all suits adds a civilian figure to the table as well.


If controlled by the 'good guys', civilians must head for cover or move off the table. If controlled by the 'bad guys', they must head for cover or towards a good guy. The best thing about the civilian rules is each time a civilian is killed, the 'bad guy' gang gets to draw an extra card for their hand - if this motivates 'bad guys' to shoot civilians, so be it! This is certainly something that can really make a game interesting!


If you pre-ordered the rule book you will have received the exclusive Photographer figure. This civilian model will benefit your gang if you control him by allowing a re-roll once per turn to one of your gang members within 12 inches of him. I really hope GEG plan on continuing special civilian figures and rules, as I feel this can add a lot of fun to the game.


Aiming is different from DMH in that one aim action will give you bonuses for ALL shots after the aim. So an "aim, shoot, shoot" declaration gives you the +1 on BOTH the first and second shots. That wasn't the case in DMH. You wouldn't get the +1 on that second shot.

I really want a Chevrolet Coupe Model!!!!

The weapons table is pretty simple, not over complicating things with all sorts of different pistols, rifles, etc. The tommy gun is what stands out on the table - the number of shots you can fire is dependent on the range. So a tommy gun fired at point blank range could use 3 shoot actions and fire 9 shots! Certainly a massacre weapon!


There was one small interesting paragraph regarding two pistols. The rules say that 'models may have two pistols in which case they ignore an out of ammo result on the shooting table.' Now the question is, does the figure have to be modeled as such or can you just say "hey, this guys has two pistols". Or how many figures can you say have two pistols? The whole gang? For me, I think I will only use that rule if the figure is actually modeled with two pistols.


Jokers work in a different way from other cards for initiative. Jokers are the low card in the deck, so that model acts last in the turn and gets his three normal actions, OR he may act at ANY TIME during the turn, even interrupting another model's turn, but only gets TWO actions which must be different. Pretty neat addition to the Joker cards!


Vehicles are the last and biggest change from DMH. Vehicles have the most pages of rules dedicated to them (5 and it's a lot of information) with a lot of different rules for lots of different situations. I won't go into detail on everything, there are all sorts of different modifiers and such, but just give you an overview of everything. With saying that though, it's nothing that seems over complicated, and I'm sure after running cars around the board a few times we'll have it down with no issues.


For a vehicle with passengers in it you will place initiative cards for each passenger, PLUS one for the vehicle itself. So a car with 3 figures in it would have a total of four initiative cards placed by it. Here's the interesting part, when the four cards are flipped, you can choose which of the four cards you want to go to the driver by swapping cards and also discard the lowest. Essentially this is giving vehicles the best chance to be the first to act with a high card, which makes total sense.


Models in vehicles perform actions as normal. They can get in or jump out of a car using a move action. You can "drive" as an action, though they call it "move" in the rule book :) . Those actions can be driving straight, a gentle turn, or a sharp turn. Within that, the number of "drive" actions you take will determine the speed of the vehicle. For example if I wanted to take 3 drive actions to go straight, sharp turn right, and then go straight again, and IF I passed all my driving tests the car would be traveling at a speed of 3; there are modifiers for the second and third moves, as well as for the difficulty of the turn.  Again, with that speed of 3 there are all sorts of modifiers that are going to effect the rest of the turn if shooting occurs from the car or at the car.


Failing a driving test will take you to a table where the results will be based on how badly you failed the test by. For example, if I failed the test by 5+, the car ends up crashing! Another roll of the D10 determines where it ends up (flipped on it's roof!) on the driving template. Nerve tests are taken for any models in the car, and under fire markers placed accordingly.


There are some cool little rules for jumping on or off a moving vehicle as well - basically what they call a "Specialist Duck Back". You can jump on or off a vehicle at a speed of 1 automatically. Speed 2 requires a nerve test; failing results in being hit and a roll on the shooting chart occurs at a +6, which could easily result in getting killed! There are also rules for riding on and shooting from the running board of those cars that have them.


One thing that I think was missed with the token set is an "Out of Control" marker. If the driver of the car is shot, it is marked as "Out of Control" as per the rule book. If there are other passengers in the car they can attempt to take over driving (by using a move action and then passing a nerve test), if they fail or if there are no other passengers then the car crashes, rolling on the Driving Test table as if it had been failed at 5+. Would have been nice to have two of those. I also think "Duck Back" and "Quick Shot" tokens would be nice to have on the table next to those models that used those actions as well. Having the driving template on the table also made it pretty obvious, in my opinion anyway, that clear plastic wasn't a good choice, as it blends in too much - you can't even read any of the writing. I think a light blue, with the lettering in white, would have been a much better choice.

Being run over is a possibility as well in TCW! Duck Backs can be used if the figure has yet to activate, with a nerve test at -1. Getting hit by a car will have you roll on the shooting table, adding modifiers depending on the speed of the car. "Stand Your Ground" is an action option as well if you are in the path of the car. Depending on the speed of the car you can take a number of actions; speed of 1 allows one action, speed 2 two actions, speed 3 three actions. At least one of those actions must be a shoot action if using two or three actions.


Cards from your hand that have a vehicle on the bottom is how you remove under fire markers from your car. The '4' of each suit takes away two under fire markers for example.

The book is laid out well and looks great. There are five scenarios included, as well as a whole section of the rule book dedicated to a campaign. The character skills in the campaign section look really neat and will add a lot to the game. GEG also have gang rosters, quick reference sheets, and the token and driving template available to download from their website for free, so you don't have to cut up your rule book.


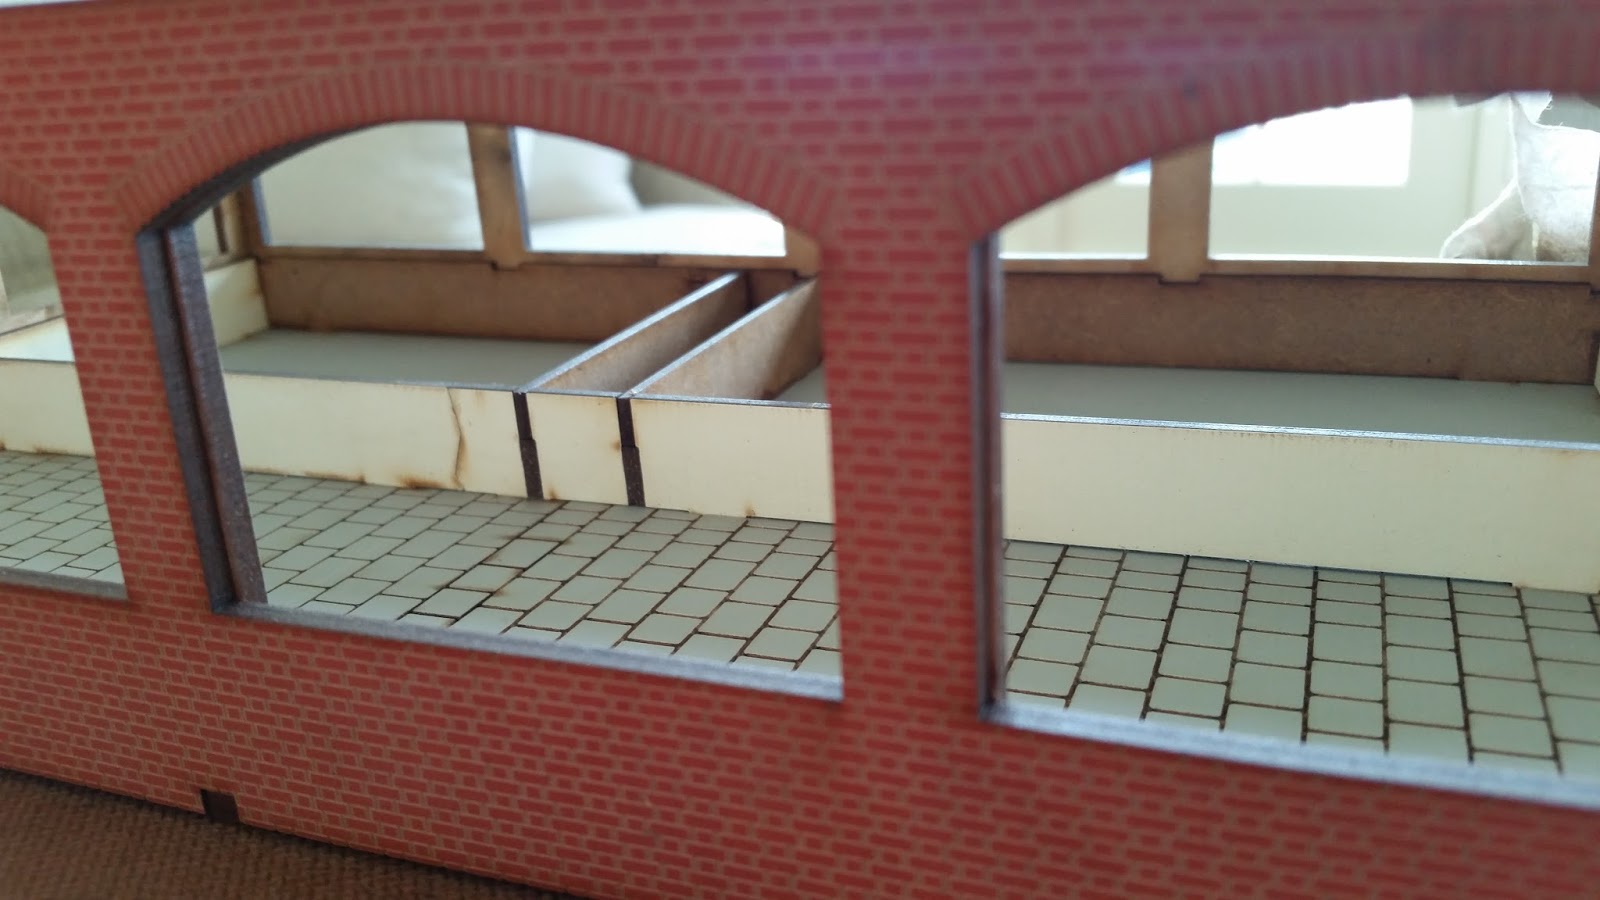
I have been anxiously awaiting this game since it was announced a couple months now and can't wait to try it out this weekend! I am absolutely in love with this time period and have been since I was young. Still waiting on my box of buildings from 4Ground, so I think I'll use some of my DMH buildings for the test play. Can't wait to run some cars around and see how that plays out. Thanks to Stuart and Mark at GEG for what looks to be another winner in my book!

As always, thanks for looking!

Ivor

Wednesday, April 27, 2016

The Chicago Way - Unboxing Box One

I was ecstatic to open the mail box to find the first of my two packages from Great Escape Games yesterday afternoon. The second box with all the new 4Ground buildings hopefully will be following soon!


This first box had the rules to The Chicago Way, the tokens, driving template, three gangs, and a couple of bits and bobs - some decals for my Bolt Action vehicles and one package of 4Grounds corrugated iron roofing material (though I definitely should have bought a couple more). Everything was packed nice and secure with plenty of bubble wrap.


When I started to go through the box to check everything out, I panicked a bit and thought GEG had forgot to ship my gang of Gangsters as I only saw boxes of figures for the Police and Prohibition Agents. Everything was there though; the Gangsters just didn’t have a box like the other two, they were in a bubble wrap bag.


The boxes the figures are in are smaller than the boxes the figures for Dead Man's Hand come in - those are old multi disc DVD cases repurposed. I like the smaller boxes better, though I did have a time and a half getting into them! I wasn't exactly sure where they were supposed to be opened at. I didn't want to tear or cut into the cool box art, and ended up going in through the bottom; though I'm not sure that was right as I had still had to tear it open. It was too bad the Gangsters didn't have a box because I am super impressed with layout, photos, and design on the other two boxes.


I decide to prep the figures before getting into the rule book - I have a maintenance appointment for my car scheduled tomorrow morning so I figured I'd use that time while waiting to go through the rules and probably write up another post on my thoughts on them. You get seven figures in each box, with each figure modeled with different weapons. Let me just say very quickly that I had a box of Blue Moon's Gangland figures, box one, the named gangsters, that totally went Keyser Soze on me - poof, gone. It was there sitting on the floor next to the painting desk when I was finishing up my Bolt Action Germans a few weeks ago. I had set it there because I knew I wanted to get a jump ahead on TCW with these figures, and then they just completely vanished into thin air. Madness! Anyway...


First up were the Police gang. Really nice sculpts on all the figures and there was very minimal mold lines to clean up. Of course the thing that will stick out with this gang is the lack of variety when painting, but that is to be expected with a uniformed gang. Still a great looking group of figures and probably will be the first ones I paint because they should be the easiest! The big question will be to base them in the traditional way, or go with clear bases which seems to be a popular choice for Pulp era figures right now. I may end up going traditional only because I don't think I have enough clear bases to cover all three boxes of figures.


Next up was the Prohibition Agents. Half of these figures are modeled straight after characters from the movie 'The Untouchables' and they look fantastic! You've got Eliot Ness (Kevin Costner), James Malone (Sean Connery), George Stone (Andy Garcia), and even Oscar Wallace with his trade mark glasses (Charles Martin Smith)!  Again, absolute minimal mold lines and clean up.


I know GEG design their figures after popular movie characters - the Dead Man's Hand line of figures followed that mold - so I'll have to dig a little deeper to figure out who the other three models are representations of.


The Gangsters were next up on the prep board. Again, a little disappointed they didn't have a box, but if waiting for a box would have delayed shipping, good on GEG for shipping them out anyway! I'm just glad I have them in hand.


Unfortunately this group did have a couple of issues with some mold lines and casting, but again minimal and expected with metal figures. One figure had some mold lines around the neck line of his coat that were visible right away. A small file took care of that though, so no real issue.

The only female figure of the group had an issue with her left leg. The way the cast was it made her leg bend to the inside, making it look like she'd had an accident causing her leg to not be straight! I cut the foot off from the base and then just straightened it out. Looking through the rule book you can see several photos of this figure and the same issue is on that one, so maybe that wasn't a casting issue. Anyway, I straightened my figures leg, and it was an easy fix. One thing you don't realize from the promotional photos that are out there, is that she is hiding a gun behind her back!


These guys will be the ones I am looking forward to painting the most! Again, like the Prohibition Agents, you've got several figures modeled after characters from 'The Untouchables' movie. You have Al Capone (Robert De Niro), Frank Nitti (Billy Drago), and then a couple of gun hands that look like they were molded after either the hotel lobby confrontation scene with Ness or the train station scene. Really looking forward to painting some white spats on these guys and the Nitti figure especially! The thing that does strike me about the Capone figure (modeled after the lobby confrontation scene and it looks fantastic) is there is no weapon modeled, so I guess that'll have to be something that we will have to proxy.


If you pre-ordered the rule book you received an exclusive figure for free, The Photographer. Civilians have special rules in TCW, so he came with a card explaining his. Which ever side has control of the Photographer (I'll go into more detail on how that happens in the rules overview post) is allowed to move him up to 6 inches and then take a photograph, this allows one as yet activated friendly model to re-roll one dice roll that turn. Kind of neat little addition and I'm definitely looking forward to more stuff like this!


I also picked up the driving template made by 4Ground. It's a clear plastic template with the writing etched in. Even under a black background it's kind of hard to read the writing, so it would have been nice if that was colored somehow. You can see that there are two types of turns, a hard turn and a gentle turn, that each have corresponding modifiers.


I did take a quick look at the cards, and they are the same size as the DMH cards, except with the rounded edges. The 2-10 TCW common cards abilities are the exact same as the DMH 2-10 common card abilities; the number 2 card for example is an 'out of ammo' for both games.


The last thing I picked up was a set of tokens. Again, these are identical to the DMH tokens except for the six vehicle tokens. Not having read the rules yet, my guess is each token represents movement, just like the footsteps do. So a '3' tire mark probably represents 3 moves totaling 18 inches, modifiers would apply just like foot movement when shooting at a vehicle.


Well, I think that pretty much sums up what I got in the box, super excited to play this game! The rules overview post is on its way, stay tuned!

As always, thanks for looking!

Ivor


Wednesday, April 20, 2016

The 4Ground Warehouse - The Wrigley's Building

I've finally completed the 4Ground warehouse kit, and I'm extremely pleased with the final product. I have what I think will be the center piece for my 'The Chicago Way' game. Still lots of little detail work I want to complete both inside and out, but to get it on the table, that's always the first and biggest hurdle!


I went back and forth as to what I wanted the building to be; from a narrative point, I knew that I wanted something that was going to be a 'front' for illegal activities. At first I thought a toy factory, but then while on Ebay I found these really neat animated billboard signs used for model train layouts. I actually had both a Nabisco Oreo and a Planters Peanuts sign in my cart as I continued to research how I could make it work. I ended up tossing the idea after realizing that it really isn't cost effective to have one ($40-$45) despite how cool they looked, and that trying to wire them up was going to affect game play in the top floor of the building.


I went back to Google and stumbled across a really great old Wrigley's gum sign, and instantly the building had a name! Plus, Chicago, it was a no-brainer.


Moving onto the actual build, experience (having built the add-ons first, see last blog entry) made it easier to not make mistakes on the main building, especially on the center run of columns!


The biggest thing you can see right away from the very first pictures at the top, is the changes I made on the roof. For whatever reason the design of the roof always seemed odd to me, so I had to change it - below is a photo of the original design. I decided I wanted to completely eliminated the center roof and cut each end down so the roof was one height all the way around.


I took the end pieces and used a pen to mark a line where I needed to make my cuts. Then it was out to the shop. I bought a jewelers saw a few months ago to help cut some Persplex I used for my custom asteroids for Star Wars X-Wing and this thing worked brilliantly cutting through the MDF. If you have precision cutting to do of any kind, I can't recommend these saws enough! The last photo shows the end result with all the sides glued together.


I then started to put the edging on around the roof. This is a really nice detail that makes it look like there are tiles running all around the edge. I had extra pieces from the roof parts I eliminated, so just a few quick cuts and those were used to fill in the holes nicely.


I also added a small detail on both sides of the top of the building that I put "1891" on it to give a little more narrative to the building. 1891 was the year that Wrigley's was founded, so I thought maybe this small detail could show how this could have been the very first building constructed for the new company. 


With the perimeter of the roof set, it was time to tackle the actual roof top itself. I took two Evergreen styrene square tubes, painted them black, measured and cut them to fit the space. This was going to create a raised platform for the main billboard sign and some roof details. The roof details are from Walthers Cornerstone line, and I went with HO scale.


I decided to use the roof tile from the parts not used to create the raised platform. It was back out to the shop though to cut the right side with the notches in it. By creating the elevated area, I was also able to use some left over steps from my old west buildings.


Once that was cut, it was glued into place. Next to create some texture to this particular area, I took some sand paper, again cut it to size and then painted it flat black. This gave the roof top a rough tar/shingle type of look, and I think it looks the business! Below are the test photos with the air conditioner, the blower, cyclone vents, and the main sign.


Next up was to make the large billboard that will sit on the top of the roof. It was off of Ebay that I found some billboard supports from Miller Engineering (the same company that make the animated signs I had originally thought of using). The main board for the sign came from the other side of the roof part I didn't use - the tile created a nice detail to the back of the sign and also along the top, making it look almost like a crown in a way. "The King of Gum in Chicago, Wrigley's!"


The rest of the build went together rather easily; again building the add-ons first helped catch mistakes that I knew were going to be there because of missing pieces, mis-labels, etc. The missing step was there again. The windows on the first floor didn't match up. I did get an extra set of the office walls, which is nice because I can create another room on one of the floors, I just need to decide where I want to put it. Though I won't have a window for it, so I'll have to improvise that.  


I do have to point out a huge issue though that was extremely frustrating. Again, I realize that these were some of 4Grounds first ever kits, but still frustrating. One of the columns for the second floor did not have the correct pieces to complete it. I had two pieces that were smaller - used for the run of columns on the first floor - and was unable to complete the column without creating something to fill the giant gap.


Another issue I had was the first floor center column run. It had to be sanded down so the second floor would lay flat. Every column sat higher than the arches, which cause the second floor to rock back and forth. I used a Dremel and then a sanding block to get everything even. 4Grounds Burnt Wood paint got everything matching again, so no real problem.


I had to have a truck for the building, so I threw a sign on a Matchbox car from their Yesteryear line. They are 1:48 scale so they are pretty close to a match for 28mm. I painted the trim, door and panel lines black to give the truck a better look; the second photo.


I thought that the building looked a little better with only one add-on floor, as opposed to two. I felt it just seemed a bit too tall with two add-on floors - as pictured below. I don't know, maybe I'm wrong, let me know what you think in the comments. Though I probably should have placed another building next to it to give an idea of the scale. If the one add-on seems to be the preference I'll have an extra to sell, so if someone needs one be sure to contact me.


While staging the final photos, it became apparent very quickly that I don't have an urban type mat or a city like board! Obviously a pretty big problem. I'm kind of on the fence with my Cigar Box Battle mats I have now and I know they just announced a 'Roaring 20's' city mat that could work for 1930's Chicago (though TMP members pretty well called them out on several issues if it's considered a true 1920's mat); while absolutely brilliant for getting a table set up quickly, there is just something that is off in my eye. I love tiles and permanent boards, but I'm not sure that is something I can pull off right now. Another hurdle I guess.


Can't have a liquor raid without crates labeled with a red leaf, right?


That was a long one, I'm pretty sure the longest post I've ever done, so if you're still with me way down here at the bottom, I'm truly grateful, thanks a lot! One last quick thing though; when I had the building on the kitchen counter during it's early build stages, my son walked by and said "You know what I thought that was?"
"No, what?"


Wow! He was right; it looked just like the firehouse from Ghostbusters! So I took the building upstairs for a couple of quick photos with the boys and Slimer before I started in on the Wrigley's signs. Looks pretty darn close anyway!

Hopefully next post I'll have a box full of Great Escape Games 'The Chicago Way' products to show off. Until then, here endeth the lesson! :)

As always, thanks for looking!
Ivor